How To Prepare Your RV For Safe Travel in 10 Quick Steps
You’re ready to start traveling in your new RV, but is your camper ready to safely hit the road? Whether you’re renting, borrowing, purchasing new or getting your camper out of storage here are the important things to check before you get moving.
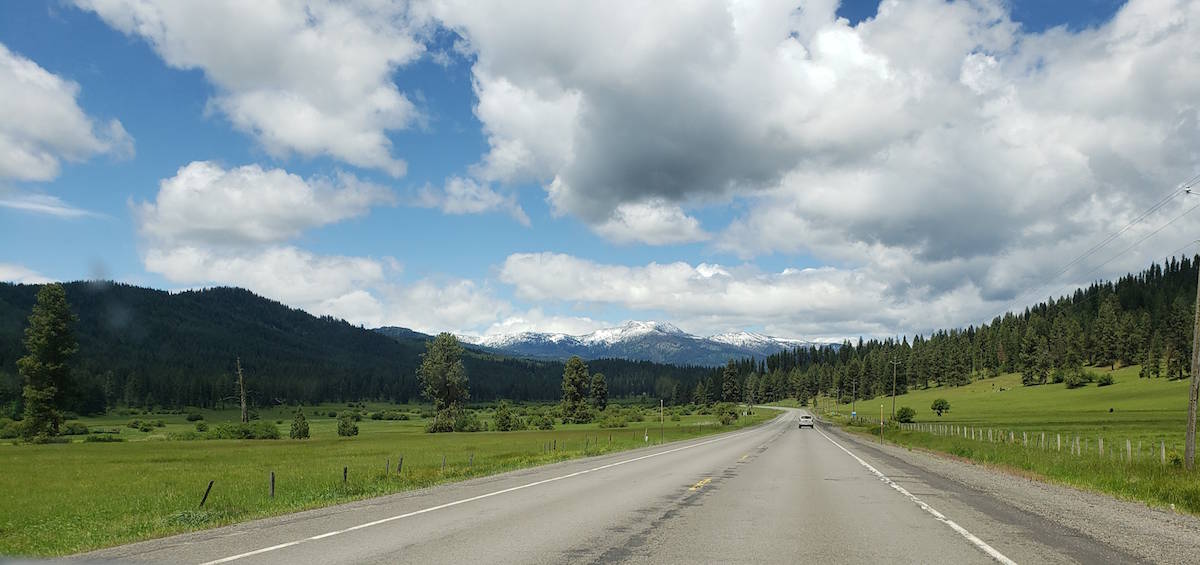
Stay safe by preparing your RV for travel before you hit the road. Here are a few often overlooked steps that could potentially save you a world of hurt and headache.
Camper Documentation
Do you have all the proper paperwork with you? Registration and insurance? Is it all up to date? Be sure to have current copies where you can easily access them.
I realized the day before a big trip that the insurance had actually expired on our camper the DAY BEFORE. Whaaat? Yes, I felt like failure in the organization department but it could have been much worse had we needed that paperwork on the road.
Tire pressure and lug nuts on your RV
Checking your tires almost goes without saying. Making sure they are filled to the correct pressure and free from foreign objects. But what about tightening your lug nuts?
I was discussing an issue with our long-time mechanic about brakes and rotors. (My FJ goes through rotors in a mean way. lol) The topic of lug nuts came up and he shared several stories of them becoming loose. Seriously? I mean at best loose lug nuts could make for a not-so-smooth ride… But at worst? No thank you.
You’re about to make sure you have all your tools handy anyway, including a tire iron, so you might as well do a safety check and make sure your nuts are tightly in place.
Replace any missing gear to be safe
Perhaps you had to “borrow” something from your RV, or took something to mend or replace. Now is the time to do a quick comb over to be sure you have all the tools you need.
- First aid kit- Make sure nothing is expired or missing. If stored where there are drastic temperature changes check bandages, medicines and ointments for damage. I always like to make sure I have children’s Motrin or Tylenol.
- Fire extinguishers– Keep in mind they only have a shelf life of 5 to 15 years. Be sure yours is up to date and the needle is in the green meaning it has enough pressure to do it’s job. Now is the time to have it serviced before you’re frantic on the side of the freeway or tucked away, isolated in the wilderness.
- Dump station gear or hoses– Were you planning on getting fresh gloves? More hand sanitizer? Replacing a cracked sewer hose? It’e easy to look past things like this but it is essential in order for you to have a pleasant trip.
- Emergency or repair– Tire iron, jacks, spare tire, jumper cables, flash lights/head lamps, fix-a-flat should your tire get a leak, emergency water supply, extra fuses, tow strap… whatever it is that you require to feel safe.
Are your batteries holding a charge?
Push the battery button on your sensor panel (where you check your holding tank status) to see where you’re at. If the RV was plugged in for an extended period of time the electrolytes may have been depleted and won’t hold a charge. Heat and corrosion can cause issues too. Best to check now.
Time to clean and sanitize your RV’s fresh water tank!
Maybe the camper has been sitting for a while or maybe it just needs to be freshened up. Perhaps it’s brand new and you want to rinse it out. Whatever the reason, now is the time to get it sanitized. Sanitizing you fresh water tank should be done at minimum once per year.
As far as black holding tanks go, they are treated while you’re on the road. Grab tome tablet pods, toss one in your tank and you’re good.
Prepare hot water heater
After hooking up to city water or filling your fresh water tank and turning on your pump, fill your hot water heater by running a hot water faucet until it is a solid stream. Now that you’re sure your heater is full of water, go ahead and plug into shore power (plug into an outlet perhaps using a 30 or 50 amp converter) or turn on your gas and check that the water heater works correctly.
Caution: Failure to fill the hot water tank first before checking that the heater works would be about as bad as leaving an empty pan on the stove over high heat. Yikes.
Reconnect battery
Batteries should be disconnected (via switch or push button) before storing so that the batteries discharge at a slower rate. This ensures your batteries will last longer before needing to be replaced. To reconnect the batteries you should be able to flip a switch. Mine is next to the gas switch right inside my camper door. Super easy for me to remember since I have to walk right by it.
Check lights and brakes
Checking turn signals and brake lights is done fairly easily by looking for reflections (walls, poles, objects) Set your phone to record a video if you are by yourself and can’t see reflections.
Issues? Double check your connection from your tow vehicle to be sure your 7-pin connection is secure.

Hook up your gas
Attach propane and turn valves on. Light the gas on the stove to purge the lines of any trapped air. This will keep appliances running smoothly and give you a chance to check the gauges to see if you need to refill. If you don’t have a gauge or a auto-changeover regulator, you should get one if you have dual tanks. (It switches to the full tank automatically. You want it.)
Last but not least…
Check your smoke and co2 detector
Sounds boring but just do it. You’ll sleep better at night with the kids knowing the detectors have fresh batteries and are ready to serve you. Believe me.
There you have it. A great starting checklist of what you need to do in order to prepare your RV for travel. HAVE FUN & BE SAFE! Share some pics on Instagram @mamas.little.camper We’d love to see what you’re up to!